Using Canva templates and caption templates as a business owner is underrated. You’re living in a world where constant idea generation and endless content creation are expected from business owners. If you’re not a creative person by nature, creating content for your business may be the biggest thorn in your side right now. If that’s the case, there are solutions to help get you through the brunt of it. Let’s dive into a few solutions to make content creation a bit easier.
Not everyone has the luxury of being a marketer by trade, savvy on the computer, or simply creative in nature. That’s why there are endless amounts of templates and templatized content options in existence on the internet.
Templates exist to help make your life easier as you DIY your marketing efforts.
Whether you hear the word ‘template’ and think of something that will help you format your blog post structure or a ready-to-go graphic layout waiting for you on Canva; templates will save you time, making these stress-inducing business tasks easier, and help you create cohesive content.
After reading this blog post you’re going to learn how to properly utilize templates for your digital graphics so you can supercharge your online marketing.
I’m a huge advocate for working smarter, not harder. Templates are life-changing when you implement them correctly in your business. We all have certain tasks that take us a bit longer to iron out but if a template is utilized from the start, it’s amazing how much less time that task can take.
If you’re wondering… “If I use a template for my graphics, won’t everything I create look exactly like what someone else’s blog graphics look like?”
The answer is… it depends. People automatically assume that if you use someone else’s template, the templates will not work for their brand, and by using them, you’ll just be copying someone else’s style.
Sure, that could be the case but if you’re a savvy business owner who already has a brand established, you won’t run into that issue.
How To Ensure Your Canva Templates Look Professional & Original
Typically, when you download a Canva template for your social media posts or blog graphics they’re created using a standard color set. Sometimes the creator will use their own brand colors and sometimes they will create a neutral or bold color set to help you see how these templates will easily match the feel of your brand.
I suggest that after you download your templates, you first swap out the colors included with your own brand colors. This will instantly help to transform the templates into something that feels a little more personal to your brand.
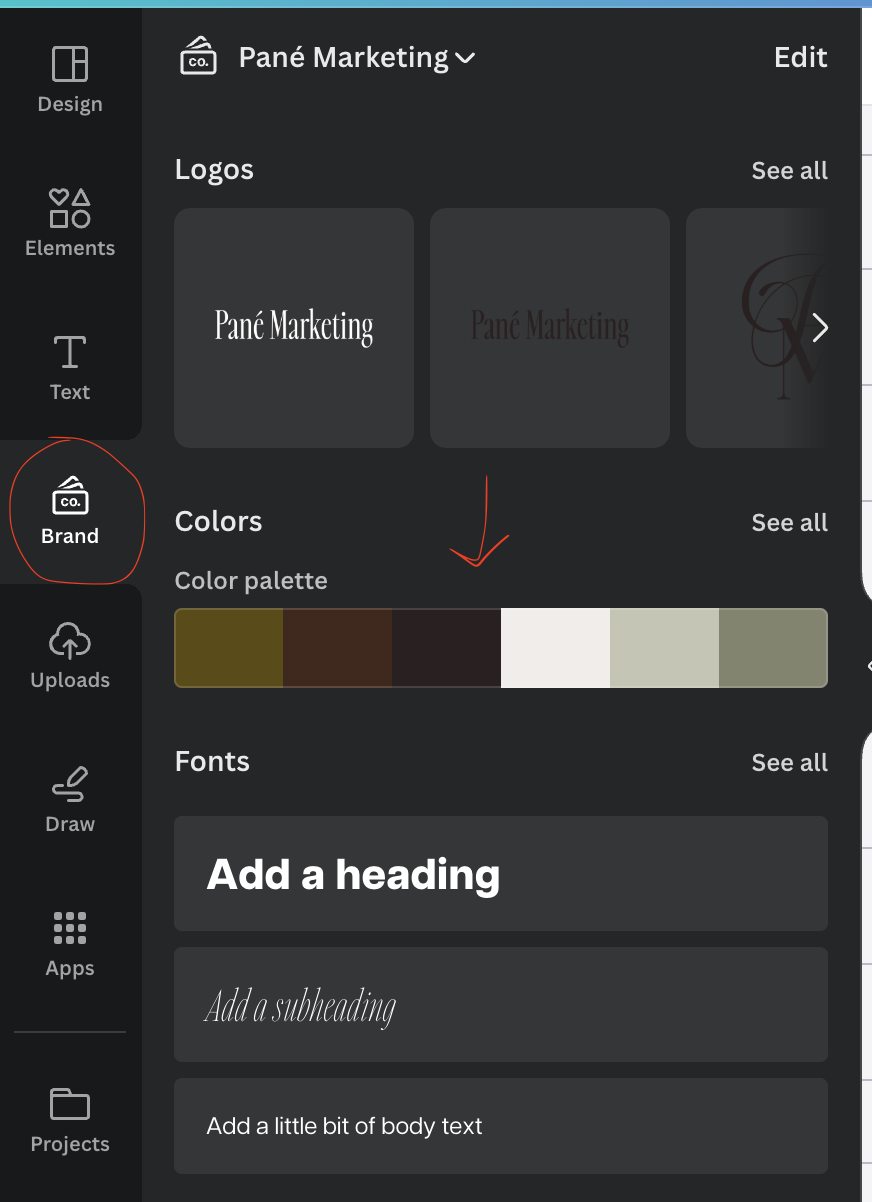
If you’re not sure how to do this, pop inside of Canva and click “Brand” on the sidebar of your workspace.
If you’ve set up a brand palette (which you should), you’ll be easily able to hover over your brand colors, and “Shuffle” will appear.
When you click this, the page of the document you’re currently on will automatically update to your pre-established brand colors. Continue to click “Shuffle” for different brand color variations until you’re happy with the results.
Here’s a screenshot of where you’ll update your templated graphic’s colors with the touch of a button:
Once you’ve swapped your colors into the template, take a look at the fonts used. Are they wildly different from the fonts you’ve used on your website?
If your audience is used to seeing bold sans serif lettering and these templates suggest you use handwriting or script fonts to highlight your content, I would suggest integrating these new fonts into your designs sparingly.
If you are looking to overhaul your online presence to fit this new design style, then please feel free to make the leap. But if you are just using these templates for one aspect of your business, while the rest of your brand follows your previous design style, take the time to make sure everything integrates well together.
Alternatively, if your brand is already solidified, simply swap out your heading and subheading fonts with the ones that are currently in the Canva Templates.

Customized Canva Templates I Rely On For My Online Business
If you are new here, I should let you know that I have a degree in graphic design. That’s actually how I first entered into the beautiful world of marketing. With that being said, I love my Adobe programs; Photoshop is my jam, InDesign is magic, and Illustrator is amazing. However, I am a sucker for time-saving strategies and simple ways to make great content with ease. **Enter Canva**
Here are a few different customized Canva Templates I’ve created and now rely on for my own business:
Featured Blog Post Graphics
A Featured Blog Post Image is the graphic that auto-populates as the image when you link to the blog post to Facebook. This is also the image that is shown with the preview text on the blog homepage to entice someone to click your image. To create these graphics, I have a template set up in Canva where all I have to do is drop in a photo that aligns with the content of the post and insert my blog title, and BAM, this graphic is done in less than 10 seconds.
Pinterest Optimized Blog Graphics
Pinterest Optimized Images are the most important graphics I create for my blog because Pinterest works as my number one traffic source. If someone visits my site and enjoys a blog post enough to want to save it for future reference, I want it to be as easy as possible for them to save it to their Pinterest feed for optimal viewing.
By including Pinterest-optimized sized graphics in each blog post, when someone Pins the post to their feed it will stand out against typical-sized blog graphics (like the featured blog post graphic) which makes it more visible to their audience which in turn drives more traffic to my site for free.
If you don’t already include Pinterest-optimized graphics on your blog posts, I hope the chance of gaining free exposure and more potential viewers is enough to change your game plan.
To create these graphics, I once again turn to my Canva template where I drop in my headline, blog category, and appropriate imagery.
Instagram Post Graphics
It should be no surprise that any text graphics on my Instagram feed are also made on Canva. Whether it’s a quote, a business tip, or an infographic, these are all made from customized templates that I’ve designed in Canva. The customized Canva templates included inside of my done-for-you monthly content membership, Content Catalyst are already created in Canva!
Here’s a quick peek inside a batch of Canva templates the members received this month:
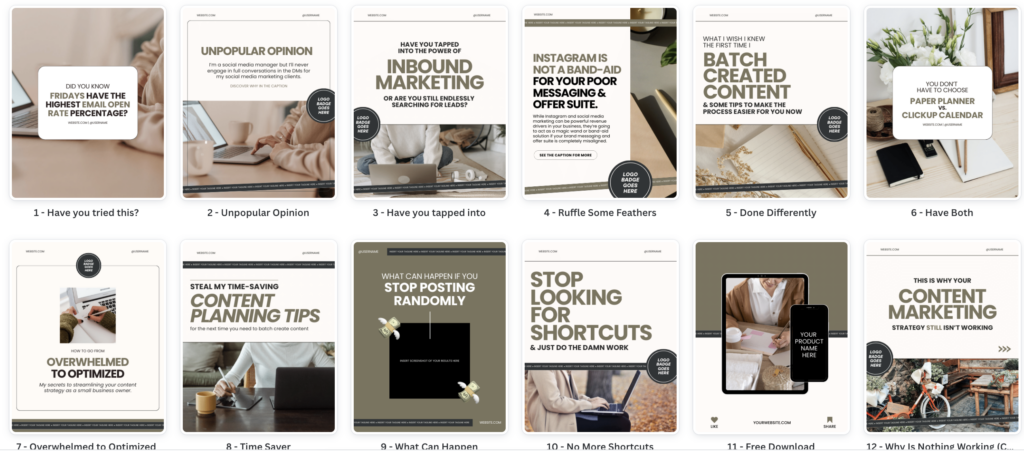
The beauty of these customized Canva templates is that each month’s batch follows the same overall aesthetic so swapping them over to your own brand’s aesthetic is as simple as clicking the “Shuffle” button on Canva. You can access these templates and over 300 other done-for-you content prompts by clicking here.
Save More Time Creating Content For Your Business
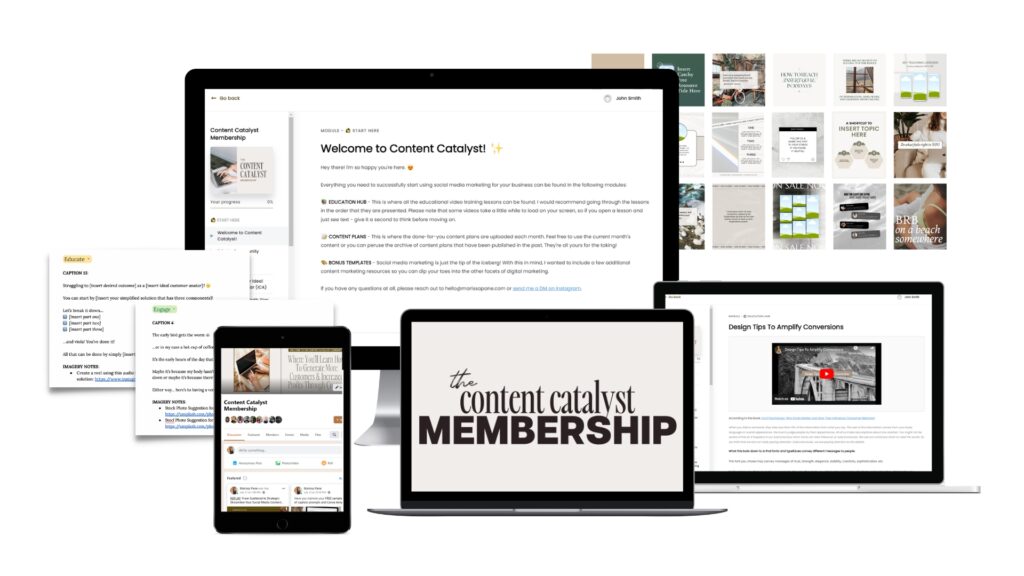
Each month you can access a complete done-for-you social content plan inside of the Content Catalyst membership that will help you create a month’s worth of strategic social content in one sitting. Click here to discover this time-saving content resource.
Looking for more content and brand strategy tips?
Every Wednesday morning, I break down one smart, strategic idea to help you show up online with more clarity, more confidence, and a brand your best-fit clients can’t stop thinking about.
Each email offers a practical reframe, built on strategy, buyer behavior, and what actually works online right now.
→ Subscribe to The Content Pour-Over to make sure when your brand is showing, it’s saying exactly what you want it to.

